 ImplantPPC
How Dental Implants Are Installed
A dental implant is installed in stages. The first operation places a small titanium screw into the jawbone. That screw replaces the root of a missing tooth. The visible tooth comes later, after the area has had time to heal.
So, if you search for “how dental implants are installed,” the short answer is: the gum is opened, the bone is prepared, and the titanium implant is placed inside it. The longer answer matters more if you’re nervous or trying to plan the cost. You’ll want to know what each stage looks like, what you may feel, and why the process usually takes more than one appointment.
What “installing” an implant actually means: the titanium screw as a replacement tooth root
A dental implant isn’t the whole replacement tooth. It’s the part hidden under the gum.
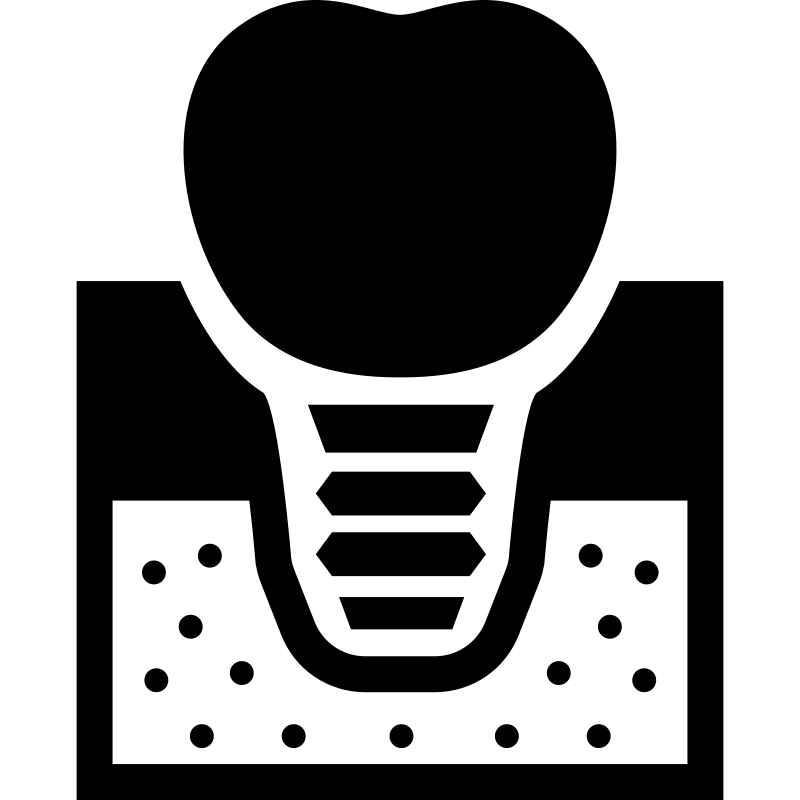
The implant is made of titanium. It looks like a small screw or threaded post. The surgeon places it inside the jawbone, where it acts as a firm base for a replacement tooth. In that way, it takes the place of the natural tooth root that used to hold your tooth in position.
The complete setup usually has three parts:
- The implant: the titanium piece inside the jawbone.
- The abutment: a connector attached to the implant later.
- The crown: the visible replacement tooth.
One implant can support one replacement tooth. Implants can also form a foundation for more than one replacement tooth, depending on your treatment plan.
This is why the first operation doesn’t leave you with a finished-looking tooth. The surgeon is placing the foundation first. The visible part comes after the implant has had time to heal in the bone.
Before the incision: imaging, bone assessment, and what determines whether you’re a candidate
Before dental implant surgery, your dentist or oral surgeon needs to look at the area beneath the missing tooth. The key question is whether the jawbone can accept and hold the implant.
That assessment may include dental imaging and a close look at the gum and bone around the site. The clinician is checking the shape and condition of the area, then deciding whether the planned implant can fit safely.
Your appointment should also cover:
- Which tooth or teeth will be replaced
- Whether one implant can support the planned replacement
- What type of implant is being considered
- Whether extra treatment may be needed before placement
- How many appointments the plan involves
- The expected cost at each stage
Bone assessment is especially important if you’ve had a missing tooth for a long time or if the area has changed. Your dentist—not an animation or a general online guide—can tell you whether the bone is suitable for the implant they’re planning.
Ask to see the images if you want a clearer explanation. A good consultation should help you understand where the implant will sit, what will happen to the gum, and what the finished tooth is expected to look like.
Step 1 — Opening the gum to expose the jawbone
The dental implant procedure starts with the gum covering the treatment area.
The surgeon makes an incision in the gum. The gum tissue is carefully moved aside so the jawbone underneath can be seen. In a diagram, this is the moment when the soft pink gum is lifted away and the hard bone becomes visible.
This step gives the surgeon a clear view of the place where the implant will go. It also explains why this is surgery, even though the final tooth may look much like an ordinary tooth.
You may see videos where the process appears quick and tidy. They often skip the practical questions. Ask your dentist what anaesthesia will be used and what you’re likely to feel during the procedure. The gum is being cut, and the bone is being prepared, so pain control should be part of the conversation before the appointment—not an afterthought.
Step 2 — Drilling the hole: why the osteotomy is widened in stages with special instruments
Once the bone is exposed, the surgeon prepares the space for the titanium implant. This prepared space is sometimes called an osteotomy. In plain language, it’s the hole made in the jawbone for the implant.
The surgeon doesn’t simply make one large hole and push the implant in. Special instruments are used to create and shape the space in stages. The opening is gradually formed to match the size and shape needed for the implant.
Picture the sequence like this:
- The surgeon marks the planned position in the exposed bone.
- A narrow opening is created.
- Special instruments enlarge and shape that opening.
- The finished space is checked before the implant goes in.
The goal is a prepared hole that fits the implant being used. The exact instruments and sequence can vary with the location, the implant design, and the surgeon’s plan.
This is the part many people want to see in a step by step dental implant procedure video or photo guide. In real life, the view is limited by the small treatment area. You may see an exposed patch of bone and a carefully prepared opening. The final hole won’t look like a hollow tunnel from the outside because it sits inside the jawbone beneath the gum.
Step 3 — Screwing the titanium implant into the jawbone
After the bone has been prepared, the surgeon places the titanium implant into the opening.
The implant may be screwed into the prepared hole or gently inserted, depending on the implant and the surgical plan. Its threads fit into the shaped space in the bone. Once it is in position, the implant is embedded in the jawbone.
In a full dental implant video, this is usually the most recognisable moment: the small metal implant moves into the bone, and the gum is then positioned around it. The implant itself is not the white tooth you’ll see when you smile. It is the hidden, root-like support underneath.
The surgeon may place the implant so it sits under the gum while the area heals. In other plans, part of the implant may be visible through the gum. Your dentist can explain which approach is being used for you and why.
The important point is that insertion is only the first surgical stage. The implant now has to heal in the jawbone before the connecting piece and visible crown are fitted.
Step 4 — Closing up: the healing period and where the abutment and crown come in later
After the implant is placed, the gum is moved back over the area and closed. The implant is now hidden below the gum, or partly covered depending on the planned approach.
At this point, you may have a healing cap or another small component involved in the treatment plan. A healing cap is a temporary piece that helps shape the gum around the future tooth. It is not the final crown.
The implant then needs time to heal in the jawbone. During this stage, the bone and implant settle together. Your dentist will decide when the site is ready for the next step.
Later, the abutment is attached to the implant. The abutment is the connector that rises from the implant and supports the crown. The crown is the visible tooth-shaped part made to fit the space.
That means the surgery you see in photos is only one part of the finished result. The crown is not normally placed at the same moment as the titanium implant. Ask your dentist which parts will be covered by each appointment and whether a temporary tooth is part of your plan.
The full timeline from first surgery to finished tooth (and why it isn’t one appointment)
A dental implant treatment usually follows a staged timeline:
- Planning: imaging, a bone assessment, and a discussion of the tooth replacement.
- Implant placement: the gum is opened, the bone is prepared, and the titanium implant is inserted.
- Healing: the implant remains in place while the area recovers and the implant settles into the bone.
- Connector placement: the abutment is fitted when the site is ready.
- Crown fitting: the visible replacement tooth is attached.
The exact length of the healing stage varies. Your dentist will set the timing based on your bone, the implant’s position, and how the site is healing.
This is one of the biggest differences between a dental implant and a simple repair. You’re not walking into one appointment and walking out with the entire process finished. There are separate surgical, healing, and tooth-fitting stages.
That staged plan affects the price, too. When asking about types of dental implants cost, don’t ask only for the price of the metal implant. Ask for the cost of the full plan, including the crown, abutment, imaging, appointments, and any treatment needed before or after placement.
How painful implant placement is and what the first week of recovery is like
The procedure involves an incision in the gum and drilling into the jawbone. It’s reasonable to feel uneasy about that. Online surgery animations often show the movement clearly but say nothing about what the patient experiences.
Before booking, ask your dentist:
- What anaesthesia will be used?
- Will you be awake during placement?
- What pain relief plan will you follow afterward?
- How much swelling or soreness is normal for your case?
- Who should you contact if recovery doesn’t feel right?
After surgery, the gum may feel sore as it heals. You may also notice tenderness around the treatment area. The first week is the time to follow the specific care instructions given by your dental team and avoid guessing based on a step by step dental implant procedure photos page.
Recovery is not identical for everyone. The location of the implant, the size of the procedure, and your own healing can affect how the first week feels. Your dentist should tell you what to expect day by day and when they want to review the site.
The most useful question isn’t simply, “Will it hurt?” Ask, “What level of pain, swelling, or bleeding should make me call you?” That gives you a clear plan instead of leaving you to compare your recovery with a dramatic video online.
The downsides of dental implants: side effects, failure, and why cost keeps coming up
Dental implants can replace a missing tooth, but they aren’t a shortcut. The main downsides are the surgery, the waiting time, possible tooth implant side effects, and the total cost of completing several stages.
The possible concerns to discuss include:
- Soreness and other short-term effects after the incision
- A recovery period before the crown can be fitted
- The chance that the implant doesn’t heal as planned
- More appointments than a single filling or crown
- A higher total cost because the treatment has several parts
Implant failure is another question to ask directly. The implant has to settle into the jawbone and support the replacement tooth. If that process doesn’t go as planned, your dentist will need to explain what happens next and whether the implant must be removed or replaced.
Cost can be difficult to compare because one clinic may quote only the implant placement while another includes the abutment and crown. Ask for a written breakdown. Find out what the price includes and what would cost extra if your plan changes.
Also ask about the kind of implant being recommended. Different implant plans can vary in design and in the number of replacement teeth they support. The cheapest first quote may not be the full cost of the finished tooth.
Full-mouth implants: can you have all your teeth pulled and replaced at once?
Full-mouth replacement is not simply the single-tooth procedure repeated across your entire mouth.
Some people may have several teeth removed and receive multiple implants as part of a larger treatment plan. But whether that’s possible depends on a careful assessment of the jawbone, the teeth being removed, and the type of replacement being planned.
Your dentist needs to explain:
- How many teeth would be removed
- How many implants would be placed
- Whether the implants would support separate teeth or a larger replacement
- How the bone would be assessed
- What you would wear during healing
- How the full treatment would be staged
- What the complete cost would be
A full-mouth case is a different scale of procedure from placing one implant for one missing tooth. It may involve more surgery, more planning, and a different healing and replacement timeline.
If you’re considering having all your teeth pulled, don’t rely on a general full dental implant video to decide whether it’s right for you. Book a consultation and ask to see how the proposed implants would fit your own jaw. Ask what your bone can support, how long each stage is expected to take, and what the full price includes. Those answers will tell you far more than a polished animation.